Creating an Organization
Summary
This guide walks you through the steps to create a new organization and its first member in TriEvents.
Requirements
In order to create an organization, a user will need:
- An email address to create the first user.
- A bank account to receive funds from ticket sales.
- You will need the Transit number, Institution number and Account number for setup.
How to Create an Organization
- Navigate to TriEvents.ca
- Click "Get Started"
From the main TriEvents page, click the Get Started button to reach the authentication page

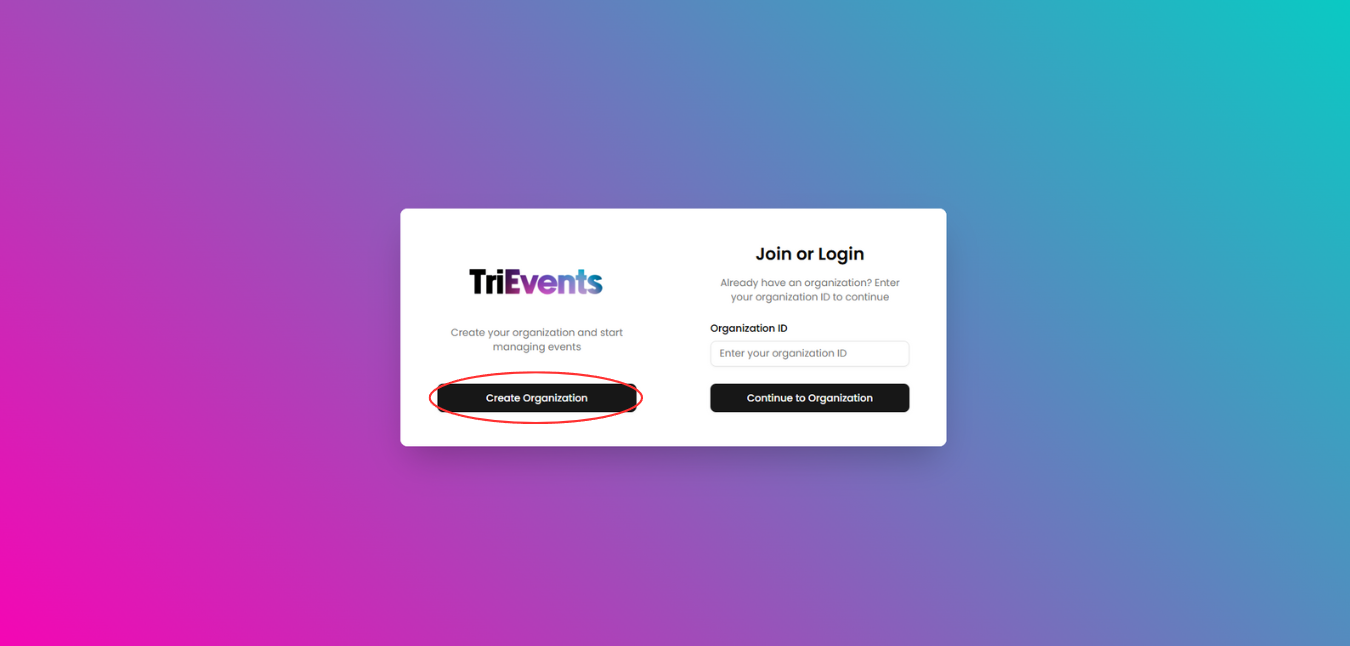
- Click "Create Organization"
On the authentication page, click the Create Organization button
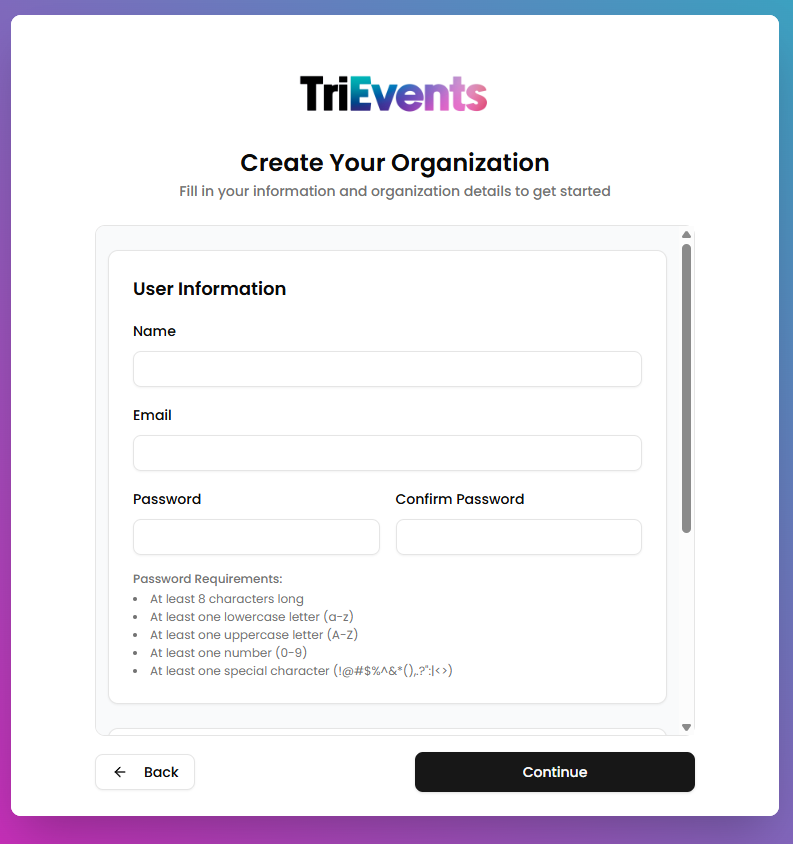
- Fill in User Information
This information will be used to create the first user in the organization. Provide the following information:
- Name: Your name
- Email: Your email address
- Password: The password for your account

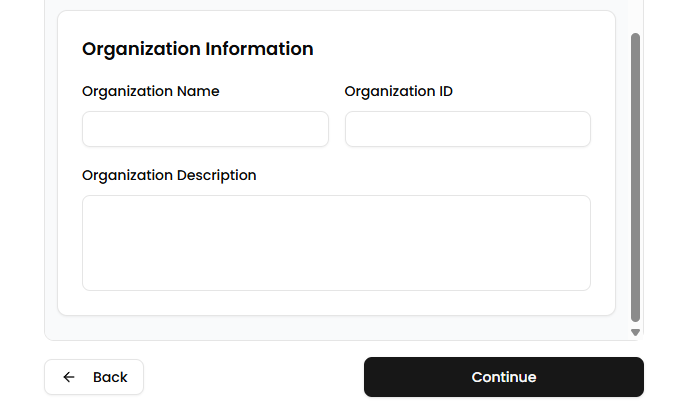
- Fill in Organization Information
This information will be used to create your organization. Make sure to remember your Organization ID, as it will be used to identify and login to your organization. Please provide the following information:
- Organization Name: The name of your organization
- Organization ID: Unique to your organization, used to identify and login to your organization
- Organization Description: The description of your organization

- Click "Continue"
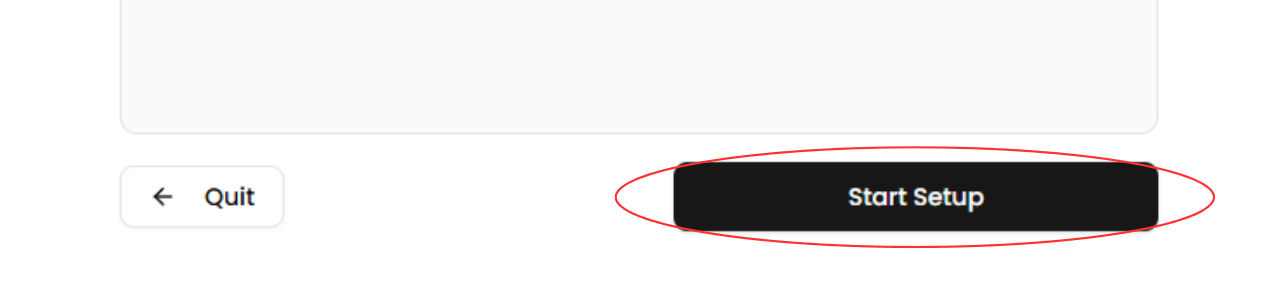
Click the Continue button to continue with your organization setup. - Click "Start Setup"
After being redirected to the next page, click the Start Setup button to continue with the setup.

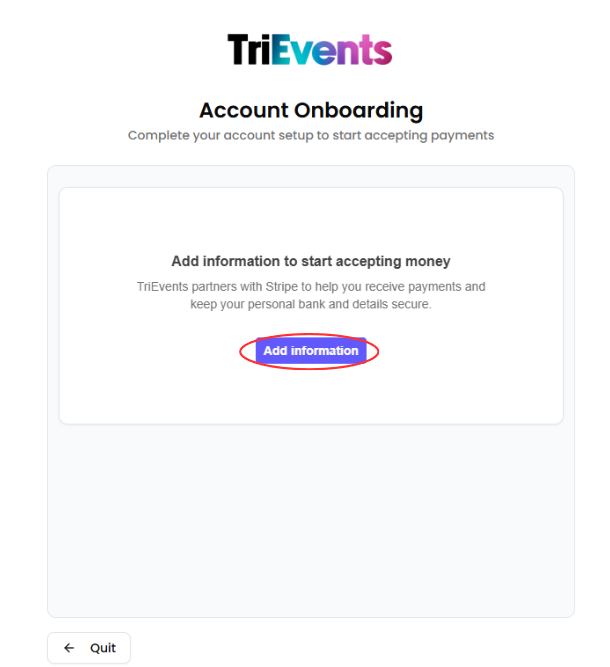
- Click "Add information"
Click the Add information buttton to begin the financial onboarding.
- Create or Login to Stripe account
A window will open prompting you to create or login to your Stripe account. If you want to use an existing Stripe account, login to it, otherwise create a new Stripe account. - Navigate through financial onboarding pages
Fill out your personal information as you navigate through the financial onboarding pages. Make sure that all of this information is accurate. Upon reaching the final page, click the Agree and submit button and your organization will be created. You will be redirected to the organization's dashboard.